
Navigation is a crucial aspect of game development, especially when working on AI-controlled characters or NPCs. Unity’s NavMesh (Navigation Mesh) system provides an efficient and robust way to handle AI pathfinding. In this blog, we’ll dive into the basics of NavMesh, how to set it up, and create intelligent AI movement in Unity.
What is Shader Graph?
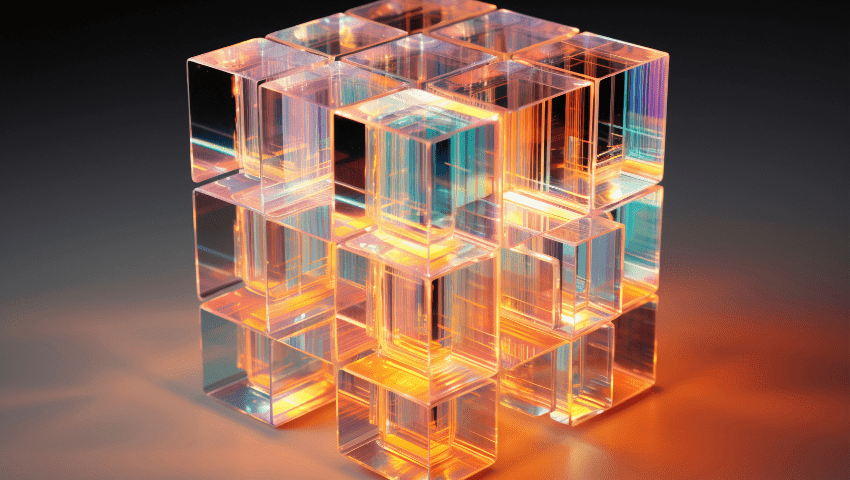
“Shader Graph is Unity’s node-based interface for creating shaders. Instead of writing code, you can connect nodes to define the appearance and behavior of materials. This visual workflow is especially helpful for artists or developers who want to prototype shaders quickly without diving deep into HLSL (High-Level Shader Language).”
Why Use Shader Graph?
- Visual Workflow: Drag-and-drop nodes instead of coding.
- Real-time Feedback: See changes instantly in the editor.
- Versatile Applications: Create effects like water, fire, holograms, outlines, and more.
- Integration: Works seamlessly with Unity’s URP (Universal Render Pipeline) and HDRP (High Definition Render Pipeline).
- Customizable: Extend functionality with your own custom nodes.
Getting Started with Shader Graph
- Set Up Your Project:
- Shader Graph requires Unity’s URP or HDRP. When creating a new project, ensure you select one of these render pipelines.
- If adding Shader Graph to an existing project, install it via the Package Manager.
- Shader Graph requires Unity’s URP or HDRP. When creating a new project, ensure you select one of these render pipelines.
- Create a Shader Graph:
- Right-click in the Project Window > Create > Shader Graph > Select the shader type (e.g., PBR Graph, Unlit Graph).
- This creates a .shadergraph file that you can open by double-clicking.
- Right-click in the Project Window > Create > Shader Graph > Select the shader type (e.g., PBR Graph, Unlit Graph).
- Assign the Shader:
- Create a new material and assign the Shader Graph to it.
- Drag the material onto a GameObject to see your shader in action.
Understanding the Shader Graph Interface
The Shader Graph interface consists of:
- Master Node:
- The final output of your shader.
- Common types: PBR Master (for realistic materials) and Unlit Master (for effects).
- The final output of your shader.
- Nodes:
- Building blocks of your shader.
- Examples: Color, Texture, UVs, Math operations.
- Graph Window:
- The workspace where you connect nodes.
- Preview Window:
- Displays the real-time output of your shader.
Creating a Simple Shader
Let’s create a glowing material using Shader Graph:
- Create a PBR Shader Graph.
- Add a Color Node:
- Right-click in the graph window > Create Node > Search for Color.
- Connect the Color Output to the Emission Input of the Master Node.
- Add a Time Node:
- Add a Time node to make the glow pulse.
- Use a Multiply Node to control the intensity over time.
- Preview:
- Save the graph, assign it to a material, and apply it to an object in your scene
Advanced Techniques
- Using Textures:
- Import textures and use the Sample Texture 2D Node to apply them.
- Combine textures with math nodes for unique effects.
- Custom Effects:
- Dissolve Shader: Use noise textures and lerp nodes to create a dissolving effect.
- Holograms: Use Fresnel nodes to create glowing edges.
- Custom Functions:Add custom HLSL code via Custom Function Nodes for advanced effects.
Tips for Shader Graph Mastery
- Experiment with Nodes: Don’t hesitate to try combinations of nodes to discover new effects.
- Optimize: Minimize the number of nodes to keep shaders performant.
- Learn by Example: Explore Unity’s Shader Graph samples and documentation.
- Use Parameters: Expose values like color, intensity, and speed for easy tweaking in the editor.
Optimizing NavMesh for Performance
- Limit Bake Area: Define smaller, specific NavMesh surfaces instead of baking the entire scene.
- Adjust Agent Parameters: Fine-tune radius, height, and step height to reduce unnecessary path calculations.
- Avoid Over-Carving: Use dynamic obstacles sparingly to avoid performance overhead.